Friday, March 6, 2015

Turkey Meatloaf

INDIVIDUAL TURKEY MEATLOAF

Recipe

1 lb of ground turkey
1 medium onion
2 stalks of celery
1 egg
1/2 cup Panko bread crumbs
Salt and Pepper
Thyme
Rosemary
Italian seasoning (Oregano, basil, parsley)

Note: You do not have to use egg or bread crumbs in this recipe. I have tried it both ways, and the texture and flavor are both very good. 

Sauce

Cocktail sauce
Ketchup
Barbecue sauce
You can doctor up your sauce any way you like! Some ideas include adding honey for a sweet flavor, or a pinch of red pepper flakes to heat things up! 

Another very simple recipe that anyone can do. Many of the recipe's that we post are simple and great for the novice cook such as many college students

Directions

Cut and dice one medium onion and 2 stalks of celery. Saute until translucent. Add to turkey. Add salt and pepper, spices, egg, and bread crumbs. Mix together. Form into one loaf or into individual loafs in a muffin tin. Bake at 350 degrees for 45 minutes. Mix the sauce ingredients while the meat is baking. The meatloaf will be slightly brown but not entirely cooked. Take out the tin and top each loaf with sauce. Bake an additional 30 minutes or until the sauce is baked nicely onto the loaf. 


  To carry out the simple menu buttery garlic noodles are just the thing, with a side salad. 


Wednesday, March 4, 2015

EVERY THING GREEN! Green Pea Hummus

 GREEN PEA HUMMUS

Keeping the Everything Green theme going! If you haven't read earlier posts, we are celebrating the color green for the month of March. We felt this was fitting since St. Patrick's Day is celebrated in March, and so is the first day of spring!
Today was one of those days that I could not think of a thing to make for dinner. My son was craving steak, and I had some red skin potatoes, so steak and potatoes it was.  Now for a vegetable...hmmm. I had froze peas in the freezer and the standard green peas with butter sounded okay, but I was feeling a bit more creative so I searched my cupboards and refrigerator and came up with the idea of a pea hummus. 
Now what would I use to put this lovely idea of pea hummus onto? I didn't have any good bread in the house however I did have frozen pre-sliced garlic bread that I had gotten on sale for only .88 cents. I bought a few of them and so far we had only eaten it with spaghetti.
The hummus spread on top of the toasted garlic bread would be a perfect match for the steak and potatoes. I also wanted to use my new found treasure, Avocado Oil! So I used it to fry up the steak, and I used it in the Pea Hummus. I hope you enjoy this delicious recipe as much as I did. This recipe will go down in the books as one of my favorite family recipes that I can pass down to my kids.

RECIPE

1 Bag of frozen peas
Avocado oil or other oil of your choice
Parmesan cheese 3/4 cup (More or less to your preference)
The juice of 1 lemon
3 medium cloves of garlic
1 handful of fresh parsley
2 tablespoons of dry basil (I would have used fresh basil, but I was out of it)
Salt and Pepper
A few shakes of garlic powder (If needed)


 DIRECTIONS

Another simple recipe. Heat one bag of frozen or thawed peas until they are heated through but not fully cooked or tender. The peas will be warm and they will still have that bright green appearance. Next in a blender or food processor add the juice of one lemon, about three tablespoons of avocado oil, garlic, peas, chopped parsley, basil, Parmesan cheese, salt and pepper and blend. As you blend you will need to add additional oil in order to keep the peas moving. You can also add lemon juice to help thin out the consistency. I liked mine a little thicker. Add salt, pepper and garlic powder as desired. I liked mine a little more garlicy So I added a few shakes of garlic powder, making it just right! 


EVERYTHING GREEN! Asparagus and Eggs

EVERYTHING GREEN! Asparagus and Eggs

The month of March is known for everything green! St. Patrick's Day, spring time and sometimes Easter falls in March. It's a time for new beginnings, sprouting flowers, buds and seeds, and in some cases the peak of certain fruits and vegetables. Asparagus is one of the those vegetables that are "in season" with April being the peak of Asparagus season. To add to our everything green theme, I added an interesting and delicious oil that I found on the west coast, Avocado Oil. I have not seen Avocado Oil in most markets and when I saw this I about flipped! The benefits of avocado are many, and I assure you will love the taste. 

Asparagus and eggs was a dish my father made when we were growing up. It was a treat and something we all devoured when he made them.  Last week I found asparagus for .97 cents a pound and I knew then that I had to stock up and freeze this delicacy and make this favorite childhood dish. 


Recipe 

Asparagus
Purple onion
Salt/Pepper
Garlic or garlic powder
Squeeze of lemon
Avocado oil
eggs

Directions

Since my asparagus was frozen I decided to roast it to prevent it from becoming mushy while sauteing. First I drizzled avocado oil onto a sheet pan, and added the asparagus and purple onion. Add salt, pepper and garlic powder and bake at 375 degrees until tender, when finished add to frying pan. Next whisk 8 eggs and add the eggs to the asparagus and cook until eggs are at desired consistency. 


Tuesday, March 3, 2015

EVERYTHING GREEN! Roasted Asparagus and Cherry Tomatoes

 ROASTED ASPARAGUS AND CHERRY TOMATOES

This side dish is one of my favorites and I typically make this when asparagus goes on sale. Asparagus is in season and at its peak from February to June with April being its peak season, and you will more than likely find the best sales during this time. Take advantage of the incredible nutritional health benefits that asparagus has to offer in addition to is peak flavor and sale prices during these months. 

The asparagus may be the star of the show in this recipe, however there are other important ingredients in this dish that make this dish a powerhouse of nutrients, such as the tomatoes, lemon and garlic, all equally serving our immune systems and over health and well-being. 

Recipe

Asparagus
Cherry or grape tomatoes
Lemon
Minced garlic
Salt and Pepper
Olive oil

Directions

Place asparagus into a baking sheet. Place tomatoes into pan. I like to place them on top of the stems to  keep them moist and to prevent them from burning. Next place minced garlic over vegetables. Squeeze the juice of 1/2 of lemon (more or less if you like) and drizzle olive oil over the vegetables. Salt and pepper. Bake at 375 degrees for about 20 minutes or until tender.

HEALTH BENEFITS OF TOMATOES

HEALTH BENEFITS AND ASPARAGUS


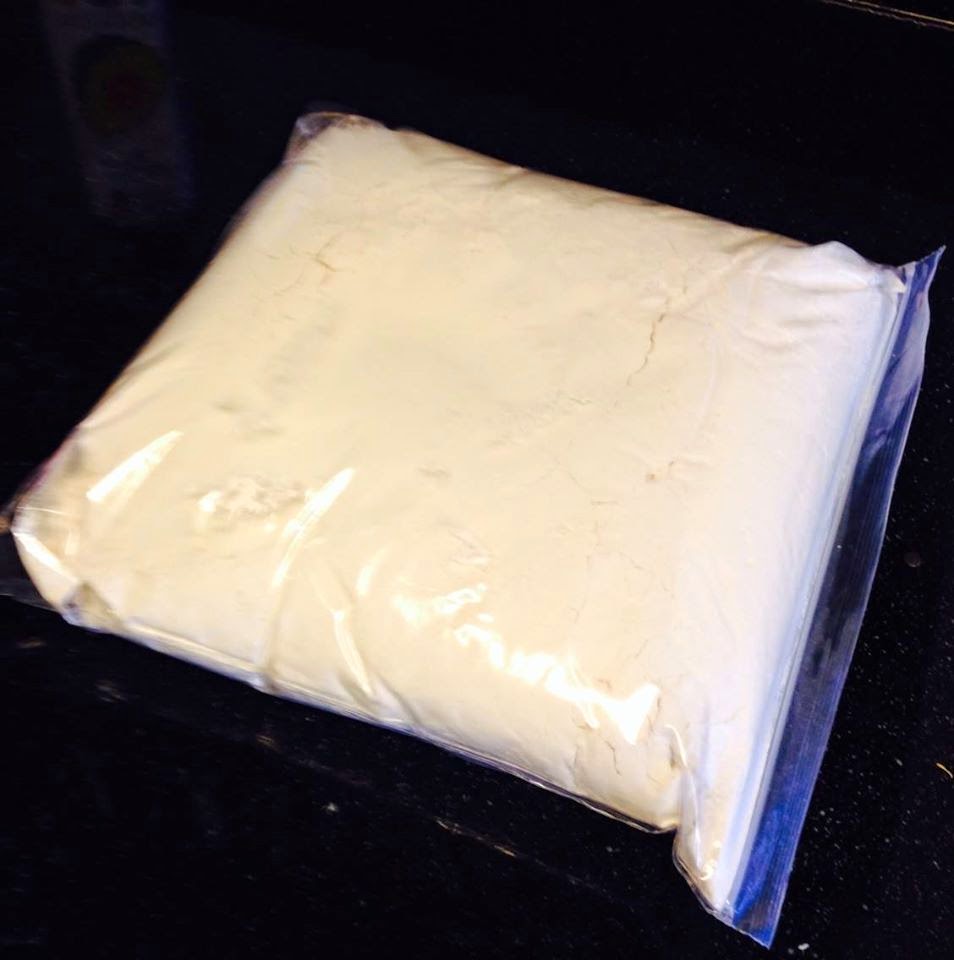
DO YOU KNOW HOW TO STORE FLOUR?

Do you know how to store your flour?

What do you do when you open your flour? Do you simply roll the top of the bag and put it in the pantry? If so you might want to think twice about how you are storing your flour. Flour is one of those staples that you may not use every day, but it is one of those staples that you never know when you are going to need it so having it on hand is essential. Flour is used in so many recipes, however if you are not an avid baker who uses up your flour right away you may not be storing your flour for long term use and freshness, not to mention the prevention of grain weevils.

What is a grain weevil?

Grain weevils are type of tiny beetle found in grains like wheat and even refined flour, like all purpose flour. The weevil and larvae can survive the refining process. Grain weevil larvae are found in the bag of flour when you buy it and the larvae will hatch under certain conditions, such as a warm and humid environments.    

Storing Flour          

It is recommended that by freezing your flour for up to a week will kill any weevil and larvae. If you do use your flour often it is recommended that you store it in the refrigerator for up to one year, or in the freezer for longer than a year. If you use your flour often, then storing it in the pantry in an airtight container is perfectly fine, however it is recommended that all flour be stored in the freezer for about a week in order to kill any weevil and larvae. After freezing, proceed to putting your flour into a glass or plastic container with a tight fitting lid for storing in your pantry. 

Why an airtight container?

If your flour has been hanging around awhile in the original paper bag, or even plastic bag, the weevil will eventually hatch. The weevil can chew its way out, or crawl out of the folded bag. Weevils also like to eat other foods such as cereal and pasta and the weevil will eventually find its way into these products. In order to prevent infestations, it is wise to freeze your flour first, and to store according to your needs (pantry, refrigerator, or freezer) after freezing your flour for one week to kill any weevil and larvae.                                        

Oh and make sure that the police don't mistake your frozen baggie of flour for something else! Just kidding.


EVERYTHING GREEN Spinach Tortilla BLT Wrap

SPINACH TORTILLA BLT WRAP WITH ORGANIC BROCCOLI BEAN SPOUTS AND TURKEY BACON


This delicious wrap is both nutritious and easy to make! When I saw these spinach tortilla's from Trader Joe's I knew I had to have them. I wasn't quite sure what I was going to make with them, but I had a few ideas in mind. After a wonderful Sunday breakfast I noticed that we had a lot of turkey bacon left over so I put it in the refrigerator for future use. As you know the beginning of any work/school week can become hectic, and this Monday was no different. After a long day and no ideas of what I was going to make for dinner I opened the refrigerator to see the perfectly cooked turkey bacon cooked the day before. The first thing I thought, BLT. It all came together from there. I pulled out the spinach to replace the L-lettuce, grabbed the tomatoes, turkey and noticed I had fresh, crunchy broccoli sprouts that I also bought on my trip to Trader Joe's over the weekend. Instead of grabbing for regular bread to toast, I grabbed for the healthy, tasty spinach tortillas, and BAM! in less than ten minutes I had beautiful BLT wraps! I thought about creating a masterpiece dressing, however I decided to make things simple and I decided to top off my perfect sandwich wrap with ranch dressing.

Recipe

Spinach tortillas
Turkey bacon
Spinach
Tomatoes
Organic Broccoli Sprouts
Ranch (Or dressing of your choice)

Directions

This recipe is so simple all I have to write in the directions is to ASSEMBLE! Haha! Healthy and Easy. 


Monday, March 2, 2015

Best Chicken You'll Ever Eat!

The Best Chicken you'll ever eat!                                               Parmesan Herb Roasted Chicken.  

Recipe  

2 Split Chicken Breasts with skin removed
Salt/Pepper
Garlic Powder
Mayo (1 Tsp for each breast)
Shredded Parmesan cheese
Italian herb seasoning
Thyme
Rosemary
1/2 Lemon
1 Large Onions


Directions

First take the skin off of the split bone in chicken breast. This will reduce the amount of fat in the drippings and is much healthier! Next salt and pepper each breast and sprinkle garlic powder onto the breasts. I covered the entire breast in garlic powder. Garlic powder not only enhances flavor but garlic is a known anti-microbial and anti-inflammatory, so use generously. Next spread mayo, either light or regular onto the breast so that the may covers the entire top of the breast. Sprinkle the Italian herb seasoning onto the mayo and then add shredded Parmesan cheese. Next squeeze 1/2 lemon or more onto breasts and top off with a sprinkle of Thyme and Rosemary. Finally add the sliced onion for a sweet yet savory finish!

I baked the chicken on 375 degrees for 45 minutes. Once the top of the breasts began to golden I turned the oven down to 350 degrees for another 45 minutes. The aroma and flavor of this chicken is unbelievable. The Parmesan cheese and mayo give the chicken a crust just like the skin would have, but much healthier and tastier! Top off the chicken with the sweet slow roasted onions.

Enjoy!!!